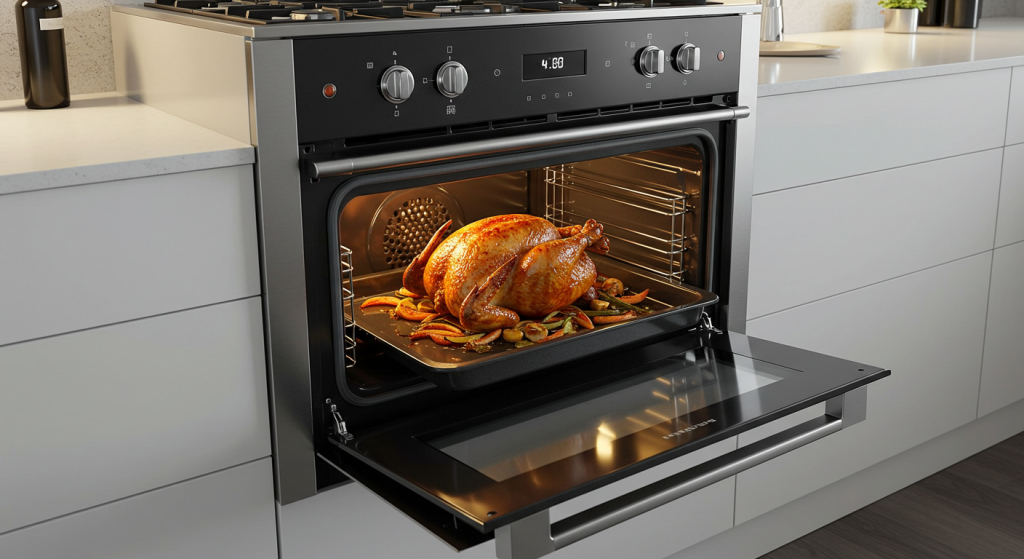
Does your oven take longer than usual to preheat? Is your culinary masterpiece not cooking evenly? These could be critical indicators that the heating element of your oven is in need of replacement. In 2025, as home cooking continues to be a cherished activity, ensuring that your oven operates optimally is essential. The oven heating element plays a pivotal role in converting electricity into heat, creating the perfect environment for baking and roasting. When it fails, it not only affects food quality but also poses potential safety hazards.
Signs Your Oven Heating Element Needs Replacement
The indicators of a failing heating element might not be glaringly obvious, but knowing what to look for can save you from complete loss of oven functionality. Below are some of the most prominent signs that suggest your heating element is on its last legs:
- Uneven Cooking: If your oven produces uneven results like burnt edges or undercooked centers in your dishes, the heating element may not be distributing heat properly.
- Visible Damage: Cracks, blisters, or irregular glowing during operation can signify a failing element. A quick visual inspection can reveal these issues.
- Extended Preheat Time: A takedown of your preheating average can indicate insufficient heating capabilities, prompting consideration for replacement.
- Unusual Smells: If you notice strange smells, particularly burning odors, while your oven is running, this might point to electrical problems in the heating element.
- Error Codes: Modern ovens often display error codes when something is off balance in their operation, including heating malfunctions.
Identifying these symptoms early on can help prevent further damage to your oven or even a potential safety hazard. For example, a gradual increase in cooking time or failing to reach desired temperatures can indicate the beginning stages of an element failure.
How to Replace an Oven Heating Element: Step-by-Step Guide
Replacing a malfunctioning oven element does not have to be an intimidating task. By following a simple step-by-step guide, you can complete this essential repair in under 30 minutes. Before starting, it’s paramount to have the right tools and safety precautions in place.
Tools Required:
- Screwdriver
- Multimeter
- Insulated gloves
- Replacement heating element
Safety First: Always ensure your oven is unplugged, or the circuit breaker is turned off before conducting any repairs to prevent electrical shocks.
Steps to Replace the Element:
- Turn off the power supply by unplugging the oven or shutting off the circuit breaker.
- Remove the back or bottom panel of the oven, taking care to keep track of screws and parts for easy reassembly.
- Carefully disconnect the wires connected to the existing heating element. Taking clear photos can aid in reinstallation.
- Install the new element, ensuring that it matches the specifications of your oven. Verify voltage compatibility before connecting.
- Test the resistance using a multimeter; a typical range should be between 20 to 60 ohms.
- Reattach the panel, reinsert screws, and restore power to the oven.
Completing this process successfully not only revitalizes your oven but also builds confidence for tackling future DIY projects. Remember, while you can tackle many repairs on your own, knowing when to consult a professional can be a sign of wisdom.
Understanding the Longevity and Maintenance of Oven Elements
Oven heating elements are designed to have a lifespan of approximately 3 to 5 years, but various factors can significantly impact their durability. Understanding these factors will help in making informed decisions about when to replace them and how to prolong their life.
Main Causes of Heating Element Failure:
- Moisture Accumulation: Liquids entering the element often lead to corrosion and eventual failure, necessitating immediate wipe-ups of spills.
- Thermal Cycling: Repeated heating and cooling cycles can stress the element, leading to wear over time. Gradual preheating can help.
- Power Surges: Electrical spikes can cause significant damage, making it worthwhile to invest in surge protectors.
- Physical Damage: Hit or dropped elements show signs of stress, which can create vulnerabilities that compromise performance.
- Grease Buildup: Accumulated grease can lead to hot spots and can even create fire hazards.
To maintain your elements and enhance their lifespan, consider the following preventive strategies:
| Cause | Solution | Maintenance Interval |
|---|---|---|
| Grease Buildup | Clean drip pans | After every 2 uses |
| Moisture | Avoid liquid spills | Immediate wipe |
| Power Surges | Use a voltage stabilizer | Install once |
| Thermal Stress | Preheat gradually | Each use |
Taking these small steps can significantly enhance your element’s performance, making regular cooking a hassle-free experience.
Understanding the specific requirements for your oven could mean the difference between a successful repair and a frustrating failure. Selecting quality parts, such as those offered by Stoves Plus,, can guarantee your cooking endeavors remain flawless.