Creating Sustainable Compost: What to Include

Hey there, eco-conscious folks! If you’re passionate about sustainable development and taking steps to reduce waste, you’ve probably considered starting a compost pile. Composting is not only great for the environment, but it’s also a fantastic way to enrich your garden’s soil. So, let’s dive into what you should put in your composter for optimal results.

The Building Blocks of Compost

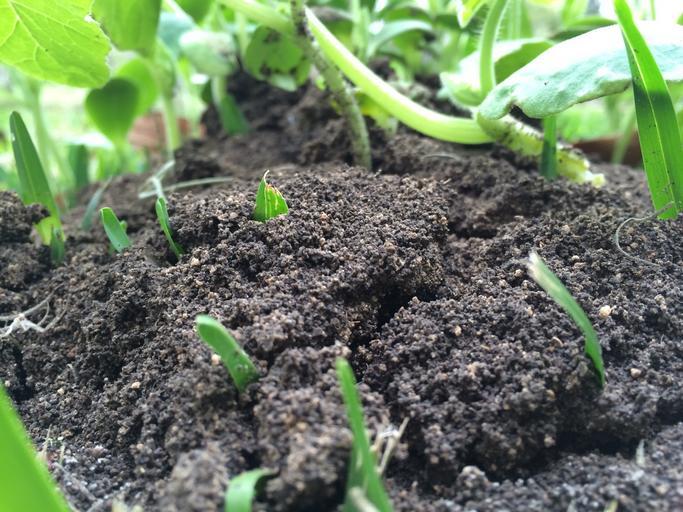
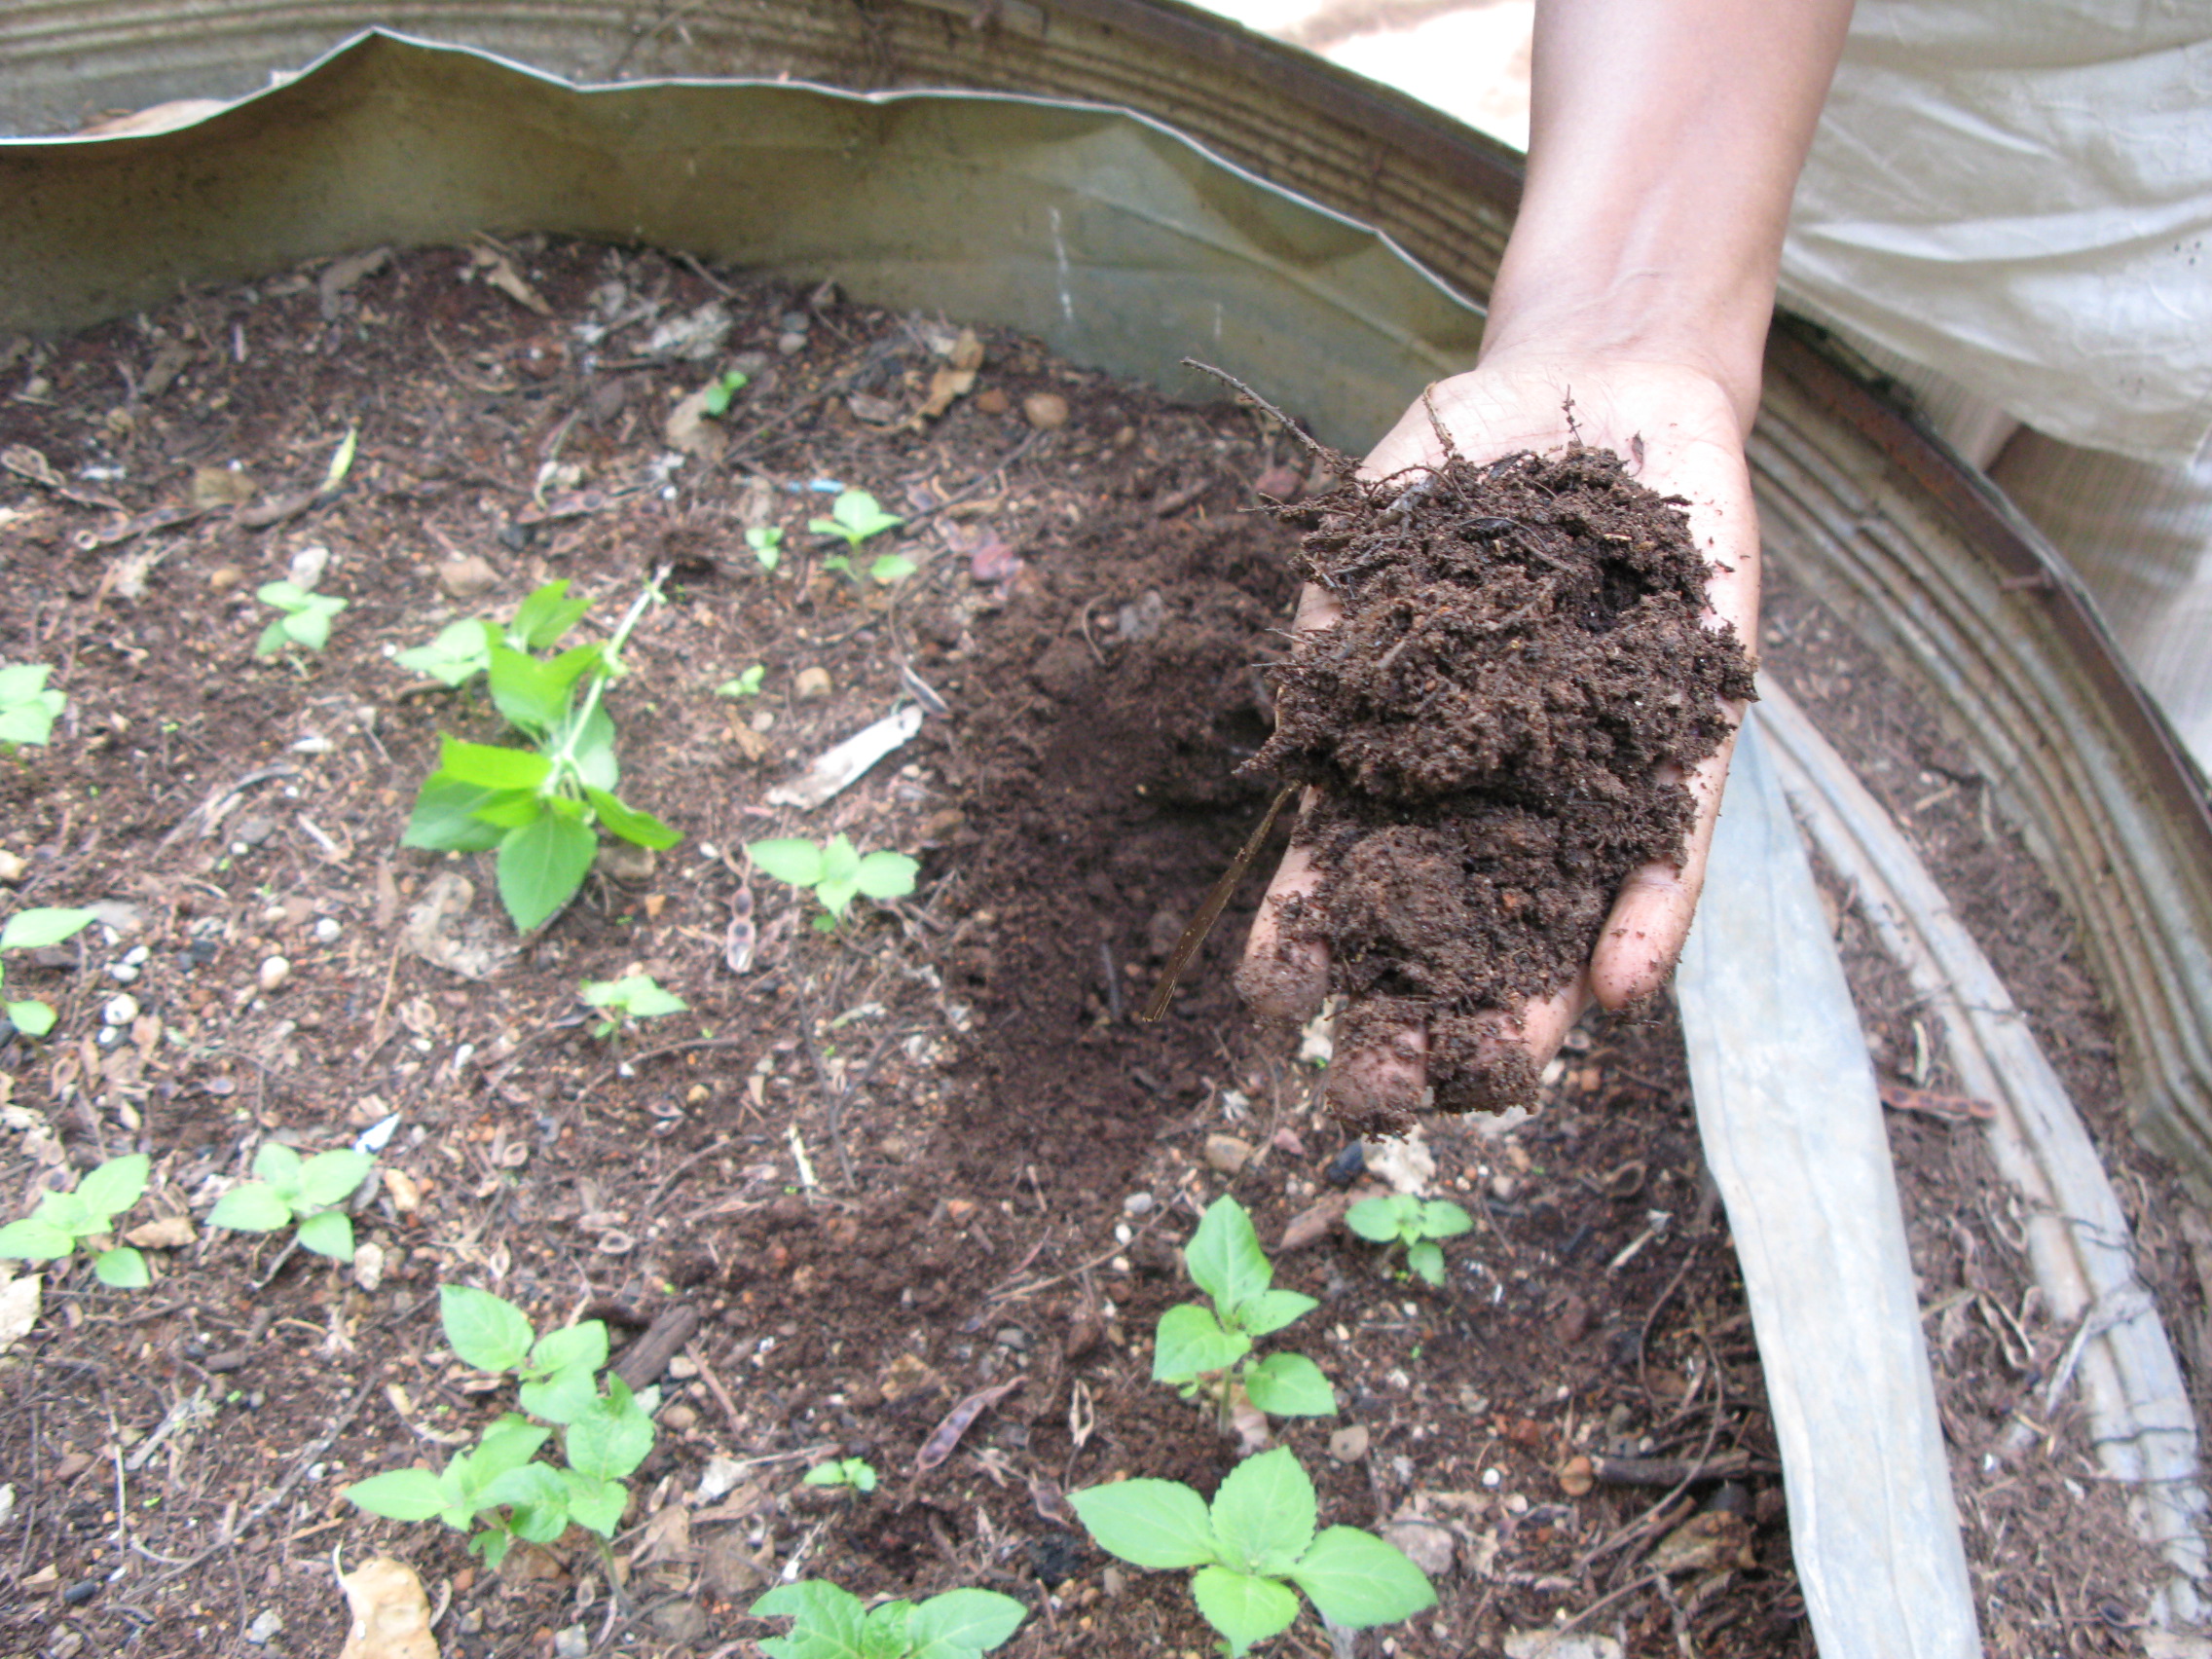
Composting is essentially a process of converting organic materials into nutrient-rich, dark, crumbly soil conditioner. To create successful compost, you need the right mix of ingredients. Let’s break it down:

Greens and Browns

The magic combination in composting is the balance between “greens” and “browns.”

  • Greens: These are nitrogen-rich materials like kitchen scraps, coffee grounds, and fresh yard waste. They provide protein for the microorganisms that break down your compost.
  • Browns: These are carbon-rich materials like dried leaves, straw, and newspaper. Browns provide energy for those microorganisms.
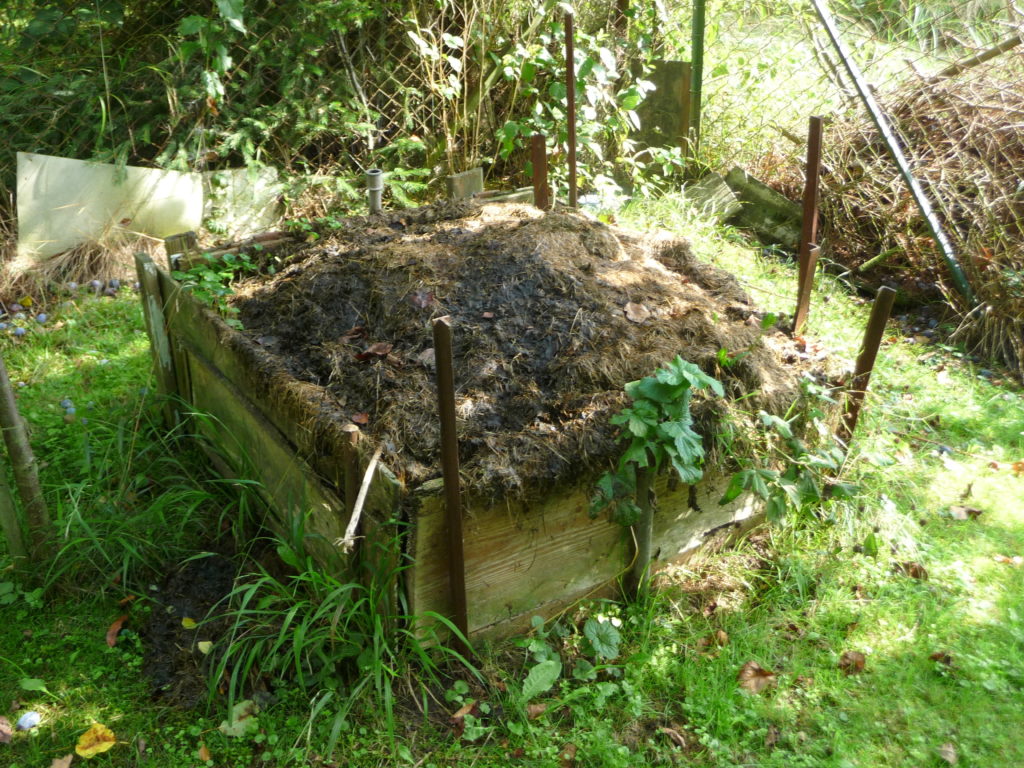
Air and Water

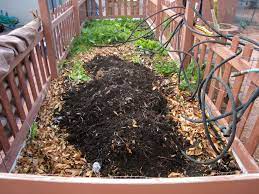
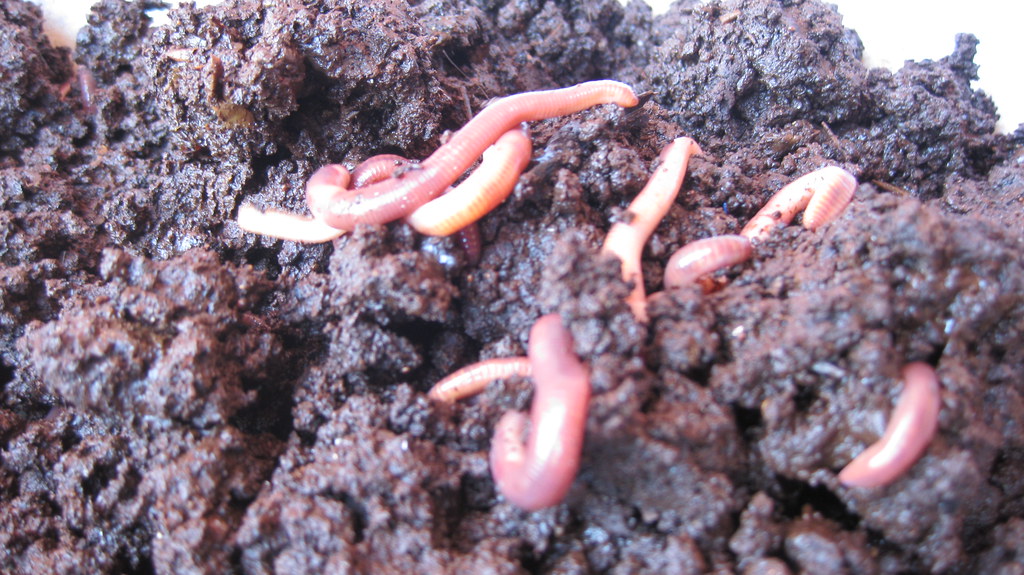
For the decomposition process to happen efficiently, microorganisms need both air and water. Ensure that your compost pile is well-aerated and maintains the consistency of a damp sponge. Turning your compost occasionally helps mix the materials and introduce oxygen.

What to Put In

Now that we’ve covered the basics let’s talk about what specific items you can toss into your compost bin.
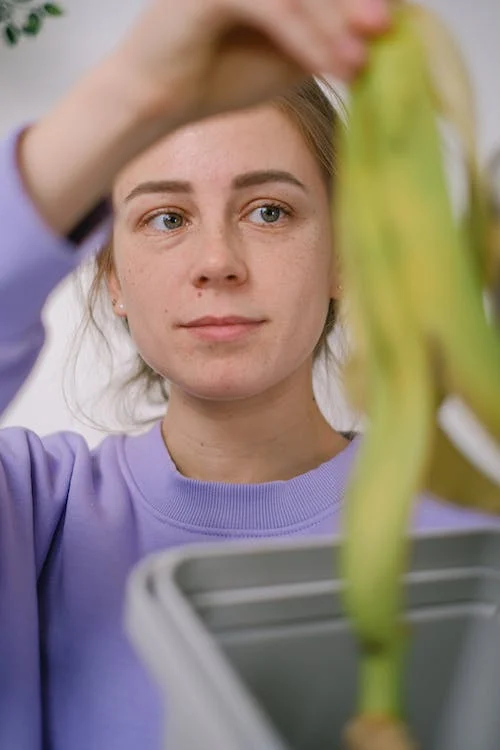
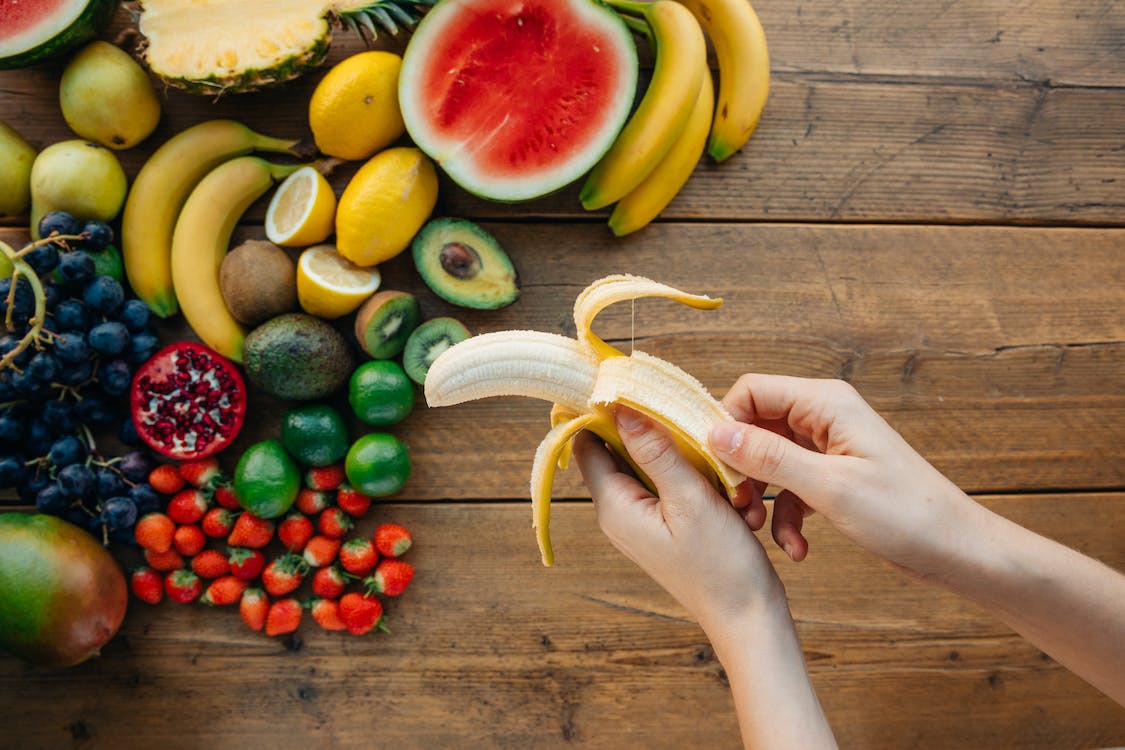
Kitchen Scraps

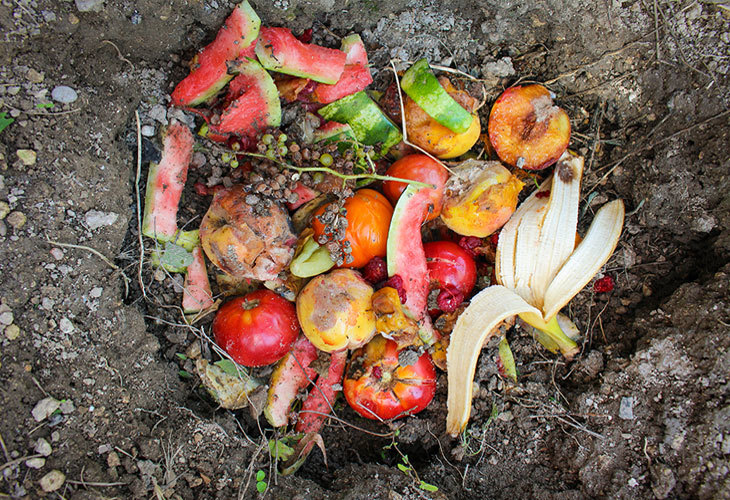
  1. Fruit and Vegetable Peels: Don’t toss those carrot peels or apple cores. They’re excellent compost material.
  2. Coffee Grounds: Used coffee grounds are a rich source of nitrogen. Learn more about recycling coffee grounds in compost.
  3. Eggshells: Crushed eggshells add calcium to your compost.
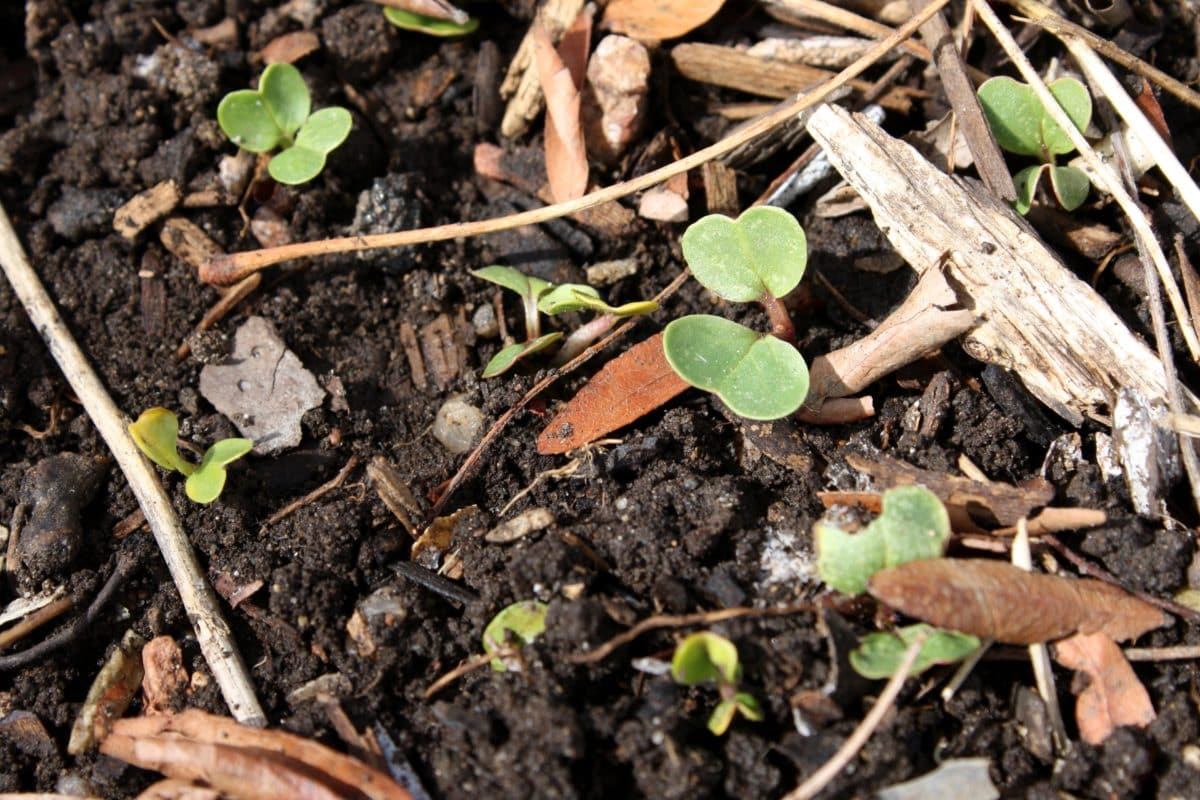
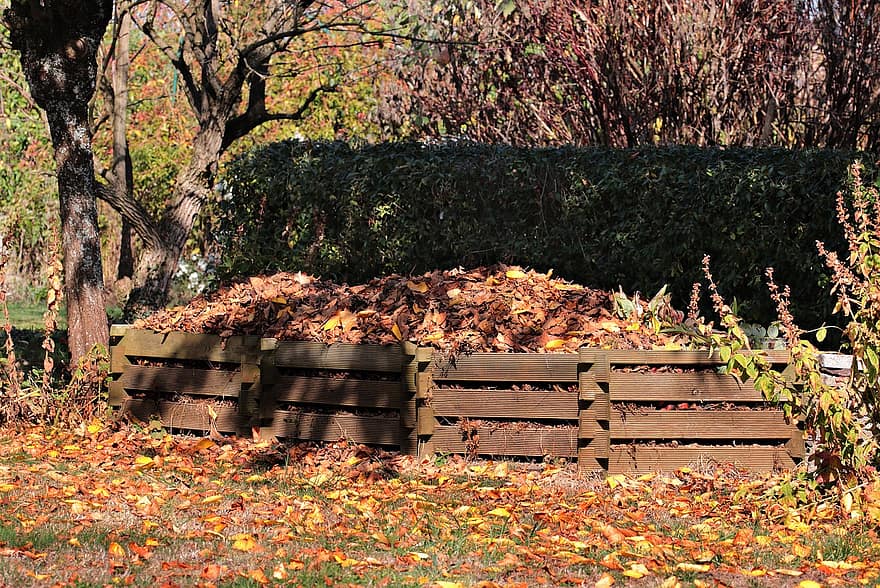
Yard Waste

  1. Grass Clippings: After mowing your lawn, those grass clippings can go right into the compost.
  2. Leaves: Dried leaves provide essential carbon.
  3. Weeds (without seeds): Be cautious with this one. Weeds can be composted, but make sure they haven’t gone to seed, or you’ll be nurturing new weeds in your compost. Read about best practices for composting weeds.

Paper and Cardboard

  1. Newspaper: Shred it before adding it to your compost.
  2. Cardboard: Cardboard breaks down more slowly, so cut it into smaller pieces or soak it before composting.

Wood and Sawdust

  1. Wood Chips and Sawdust: These can be composted in moderation, but they’re high in carbon, so balance them with nitrogen-rich materials.

Natural Fibers

  1. Cotton and Wool: Old cotton and wool clothing, as long as they’re natural and not blended with synthetic fibers, can be composted.

Stale Bread and Pasta

  1. Bread and Pasta: Stale or moldy bread and pasta can also find a new purpose in your compost bin.

Natural Materials

  1. Hair and Fur: Whether it’s pet hair or human hair, it’s compostable.
  2. Wooden Toothpicks and Matches: These small wooden items are suitable for composting.

Small Yard Debris

  1. Twigs and Small Branches: Chop them into small pieces to help with decomposition.

Manure

  1. Animal Manure: If you have access to well-aged animal manure (not from carnivores), it can be a valuable addition to your compost.

What to Avoid

While many items can be composted, some should be kept out of your compost bin:

  • Meat and Dairy: These can attract pests and create odors.
  • Oily or Greasy Foods: Fats and oils can slow down the composting process.
  • Diseased Plants: If your plants have diseases, it’s best not to compost them to avoid spreading the disease.
  • Pet Waste: Pet waste may contain harmful pathogens.
  • Synthetic Materials: Plastics, rubber, and anything synthetic should never be composted.

Tips for Successful Composting

To make your composting efforts even more successful, keep these tips in mind:

  1. Size Matters: Chop or shred materials into smaller pieces. Smaller particles decompose faster.
  2. Layer It: Alternate between layers of greens and browns to maintain that essential balance.
  3. Stay Moist but Not Soggy: Keep your compost pile as moist as a wrung-out sponge. If it gets too wet, add more browns; if too dry, add more greens.
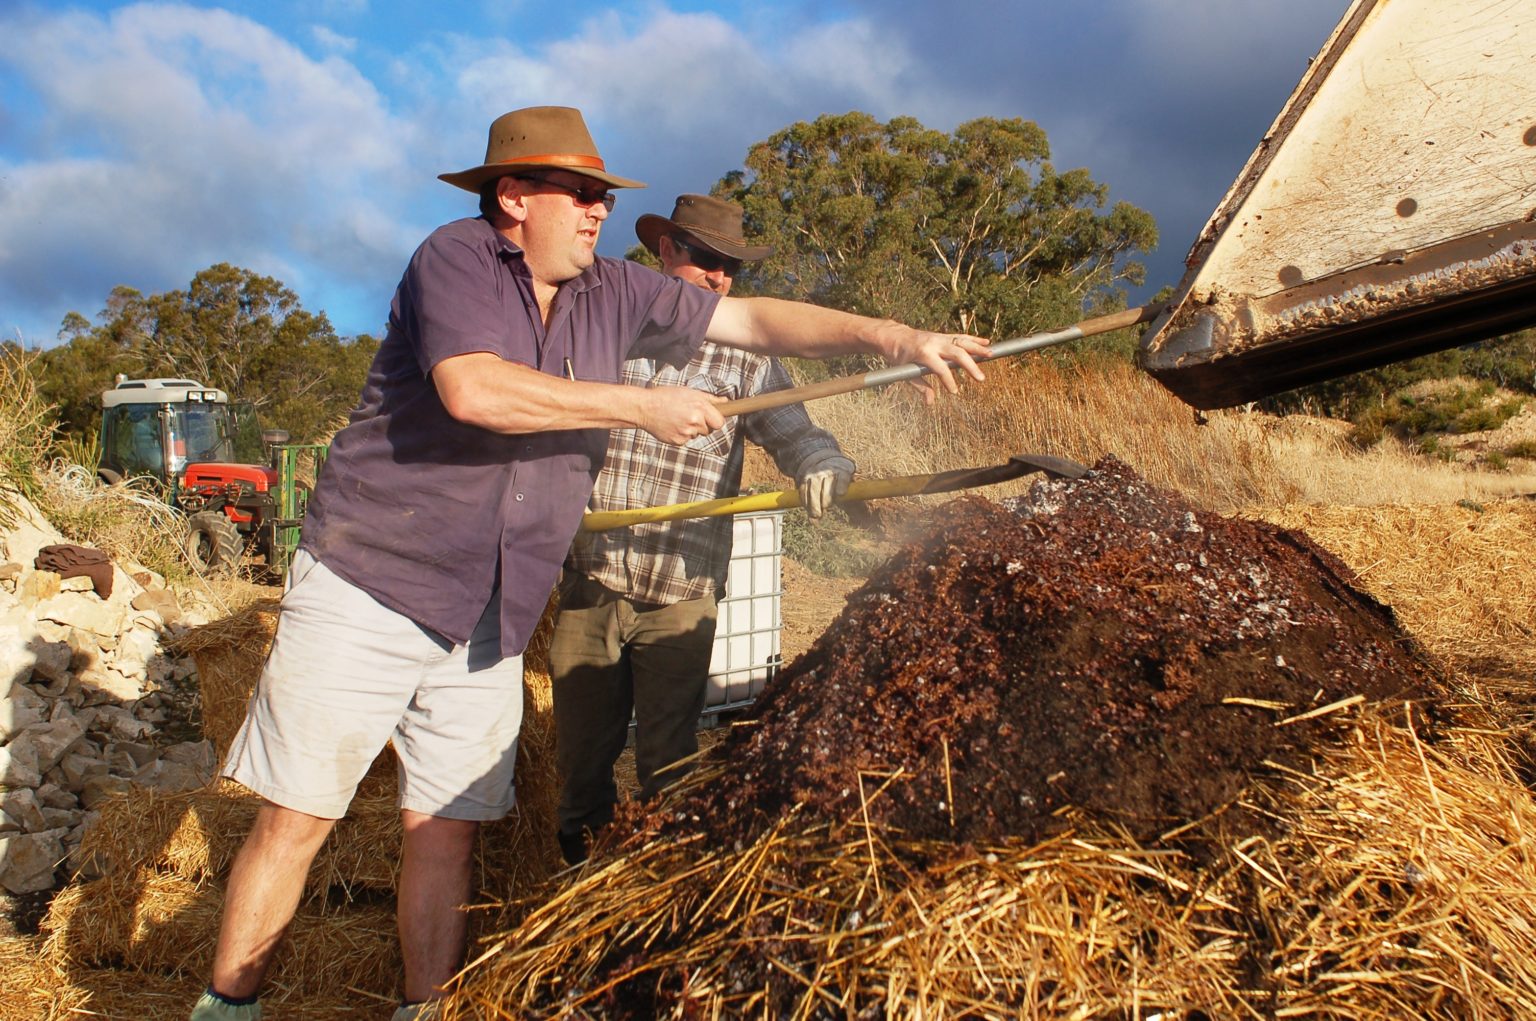
  4. Aerate Regularly: Turn your compost pile every few weeks to introduce oxygen.
  5. Patience Is a Virtue: Composting takes time. Depending on various factors, you can expect finished compost in a few months to a year.
  6. Use Finished Compost: Once your compost is dark, crumbly, and earthy-smelling, it’s ready to be used to enrich your garden soil.

Closing Thoughts

Composting is a fantastic way to reduce waste, enrich your garden, and contribute to sustainable development. By knowing what to put in your composter and following a few simple guidelines, you can turn your kitchen and yard waste into nutrient-rich compost that will benefit both your plants and the environment. Happy composting! 🌱

How to Use Banana Peels as Fertilizer

How to Use Banana Peels as Fertilizer


Contents

– Focus on banana peels

– Method 1: Bury the banana peels at the foot of the roses

– Method 2: Mulch the plants with the banana peel strips

– Method 3: Make liquid fertilizer from banana peels

– Method 4: Enrich your compost

Banana is the most consumed fruit in the world. The fleshy peel represents 30 to 40% of the weight of the fruit, so it would be a shame not to recycle this organic material, rich in minerals, for use in the garden. This will help to reduce chemical fertilizers and, therefore, a significant step toward sustainability.

 Here are different ways to use banana peels as fertilizer.

Focus on banana peels

Banana peel is an organic waste used to feed animals and enrich the soil thanks to its nitrogen and mineral content. It contains, in fact :

– a high proportion of protein (rich in nitrogen), i.e., 6 to 9% of the dry matter ;

– 20 to 30% of fiber (cellulose, hemicellulose, and lignin);

– up to 40% starch in green plantain, which is converted into fast sugars after ripening;

– the fast sugar content is 30% for ripe dessert banana peel.

Composting banana peels release a significant amount of nitrogen, potassium, phosphorus, magnesium, and iron, which are helpful to plants, particularly for forming fruit, reviving the color of flowers, increasing disease resistance, and promoting rooting…

Good to know: many studies have been conducted to obtain quality compost, especially from banana peels associated with oil palm waste.

Method 1: Bury the banana peels at the foot of the rose bushes

How to Use Banana Peels as Fertilizer

Banana peels compost quickly in the soil in the presence of oxygen.

– Spread the peels on the ground at the base of the rose bushes and lightly scratch the soil to bury them.

– You can also place a banana peel at the bottom of the planting hole, cover it lightly with soil, and then plant the root ball of your chosen flower or a vegetable such as a tomato, zucchini, bell pepper, or eggplant on top.

Method 2: Mulch plants with banana peel strips

Roughly cut the banana peels, then mulch all around the plant (roses, tomatoes, zucchini…), right at the outer edge of the vegetation where the rootlets are located.

Good to know: banana peel mulch also has a repellent effect on aphids and other tiny crop pests.

Method 3: Make liquid fertilizer from banana peels

How to Use Banana Peels as Fertilizer

Banana peels are an easy way to make a liquid fertilizer.

– Cut them into cubes and soak them in a bucket of water for a few days.

– Strain the liquid obtained.

– Water your plants, especially indoor or hydroponic crops, with it.

Method 4: Enrich your compost

Throw banana peels into your compost, as they are green waste. Add brown waste (chicken litter, cardboard, cow dung…) to balance the compost.

Good to know: a study showed that banana peels mixed with cow dung generated a compost containing more than 10% potassium (K) and more than 2% nitrogen (N).

Read more:
How to Make Quality Compost

How to Make Quality Compost?


You can put almost anything in your compost! Your household waste (raw fruit and vegetable scraps, fireplace ashes, etc.) and your garden waste (dead leaves, grass clippings, etc.).

That said, some elements should be avoided at all costs when making your compost, while others will boost it. Here’s an overview.

Elements to avoid or even ban from your compost

Peelings and bark

It is strongly advised against putting in your compost:

– potato or pear peels, which can carry diseases;

– plants that can carry diseases, such as roses or fruit trees;

– Citrus peels, which contain a natural insecticide that prevents rapid decomposition;

– Weeds in your garden can grow back.

Good to know: you can eventually put your citrus peels in the bin, but only if you cut them into tiny pieces.

Animal waste

It is also not recommended to put:

– fish waste, especially bones;

– meat waste, especially bones.

This will avoid attracting small or large carnivores such as rats, cats, dogs, etc.

Elements to boost your compost


Small elements for an easy degradation

Some elements or packaging can accelerate composting:

– The smaller the items you put in, the faster the composting.

– Mowing leaves, for example, helps them decompose. Consider doing this if you want your compost to be more active.

– You can also add grass clippings to enrich your compost.

– Nettle manure accelerates the decomposition of the compost.

Note: The diversity of waste makes compost the best organic fertilizer.

Cardboard: the key to good compost

Putting pieces of cardboard between the layers of compost is very beneficial:

– Cardboard keeps the compost warm and allows for faster decomposition;

– heat is essential for the excellent development of bacteria and, therefore, for a favorable action of the compost;

– if the compost is too dry, the bacteria die, and only the fungi continue to work, which makes your compost of poor quality;

– Aeration is also an essential factor: otherwise, your composting will be slow, partial, and smelly.

Note: to check that it is sufficiently humid, plunge your hand into your compost and see if droplets appear.

There are 3 composting processes: the composter, vermicomposting, and the compost heap.

3 types of composters

The composter is the container that allows the formation of compost. Several solutions are available to you:

– The compost bin: bought in large stores, made of wood or plastic, it is probably the most economical solution for small areas. It costs about 50 dollars.

– The rotary composter allows you to make compost more quickly, about six months but remains a relatively expensive solution, more than a hundred dollars, compared to conventional composters.

– The vermicomposter allows you to create compost thanks to the intervention of worms that help decompose the waste.

Whatever the solution you choose:

– The composter must be placed on the ground to allow the composting process.

– It must be more or less open to allowing the air necessary for the compost to circulate.

– It must have an easy access opening to facilitate the waste placement.

– It must have a trap door to collect the mature compost from the bottom.

Good to know: The trap door is unnecessary if one side opens completely. Start with a 400 L composter to estimate the amount of waste you have to compost.

Choosing the right location for the composter

How to Make Quality Compost

The choice of the location of the composter is essential. Think about the practicality and aesthetics to avoid neighborhood disputes. Place the composter:

– away from bad weather,

– away from outside eyes,

– close to your house.

It is not mandatory to place it at the bottom of your garden. Placing it next to your house is more beneficial if you regularly throw away your kitchen waste.

If the compost bin you bought in the store is more valuable than aesthetic, you can always cover it with climbing plants or make a wooden compost cover with boards.

Which composter for my needs?

Choosing a composter is not easy. Some information is good to know.

– The compost bin:

o In plastic, the compost bin is generally green or black, from 400 to 600 l, recommended for surfaces of 500 m² maximum.

o In wood, the models are often made of autoclaved pine, treated in the heart of the wood to allow the structure to resist the wet and hot composting process. The capacities are also from 400 to 600 l.

– The vermicomposter is recommended for balconies or indoors because the waste is less critical.

– The rotary composter has a smaller capacity, about 100 l, but it allows to make compost more quickly.

Price of a composter

Here is a comparative table of the different prices of composters.

Compost bin

Vermicompost bin

Rotary composter

Plastic

$50 to $100

$80 to $150

$100 to $300

Wooden

$50 to $300

Starting at $50

COMPOSTING: SIMPLE AND NATURAL WAY TO SAVE OUR PLANET (Part 3)

This post is a continuation of Part 2 on COMPOSTING: SIMPLE AND NATURAL WAY TO SAVE OUR PLANET. Lately, in part 1, we have gone through:

COMPOSTING IN PRACTICE

HOW TO COMPOST?

In part 2, we covered the following:

CHOOSING THE APPROPRIATE COMPOSTERS

WHAT TO COMPOST?

WHAT IS VERMICOMPOSTING?

In this final part, we will see:

WHAT IS HERBICYCLING?

THE COMPOST IS READY!

TIPS FOR COMPOSTING

WHAT IS HERBICYCLING?

Garden waste can be composted. However, grass clippings are often too much material for a composter. The solution? Grasscycling, which involves leaving the grass in place after mowing, is an environmentally friendly method of fertilizing the lawn. Grass clippings, which consist mainly of water, provide a vital nitrogen supply and affect soil moisture and help protect the lawn from certain diseases.

Many municipalities encourage grasscycling among their citizens through awareness campaigns. Some have even adopted regulations prohibiting the collection of grass with green waste or household garbage.

Some practical advice:

– Mow the lawn regularly, at the height of about 7 cm (3 inches) but never less than 4 cm (1.5 inches), and when the grass is dry.

– Make sure the mower blade is sharp or use a mulching blade to reduce the size of grass clippings, which increases the rate of decomposition.

– If mowing is too late, collect the grass clippings and deposit a 15-centimeter (6-inch) thickness in the compost bin or use it as mulch.

THE COMPOST IS READY!

It is relatively simple to recognize a mature compost: dark brown, it looks like good soil, has a good humus smell, and you can no longer identify the residues used (except for some materials that are difficult to compost, such as eggshells).

How to use the compost?

Compost is not a fertilizer but an excellent amendment for garden soil because it nourishes the soil, improves its structure and aeration, and increases its water retention capacity. You can use it both indoors and outdoors:

– Mix in the first six inches of garden soil and use it around trees, shrubs, vegetables, and flowers.

– Mix into your plant and transplant soil (at about one-third compost by volume).

– Spread the sieved compost on the lawn after aerating it.

To speed up the process

You will quickly learn how to make compost. To improve your practice, you need to know the factors that can influence the maturation time:

– The right proportion of wet and dry matter

– The size of the residues used (the smaller the pieces used, the faster the process)

– The proper ventilation and the right degree of humidity

– The method used and the volume of material composted

TIPS FOR COMPOSTING

You will increase your chances of success if composting is not complicated!

– Keep a re-sealable container in the kitchen in which to put your table scraps. An attractive stainless steel container placed near the sink is convenient.

– If you generate a lot of waste and you have room, use two composters: while the compost matures in one container, you use the other one every day.

– You can place residues in the compost bin all winter long. The decomposition process is slower or stops when the pile is frozen, but it starts again quickly in the spring, after a good turn.

– Empty the compost bin as much as possible in the fall to make room.

– If you don’t have a garden, you’ll be happy to donate your compost to a school or community group for use in their landscaping.

The United States is the only developed country whose waste production exceeds its recycling capacity, underscoring a lack of political will and infrastructure investment. The United States has a better recycling capacity than most countries globally, but the amount of waste produced is not treated in the same way. As responsible citizens, we need to take care of our waste, and composting is a natural and straightforward way to save our planet.

Don’t forget to share and comment on this article. Please, feel free to share your link to related posts that promote the sustainability of our planet.

COMPOSTING: SIMPLE AND NATURAL WAY TO SAVE OUR PLANET (Part 2)

This post is a continuation of Part 1 on COMPOSTING: SIMPLE AND NATURAL WAY TO SAVE OUR PLANET. Lately, we have gone through

COMPOSTING IN PRACTICE

HOW TO COMPOST?

We will now cover:

CHOOSING THE APPROPRIATE COMPOSTERS

WHAT TO COMPOST?

WHAT IS VERMICOMPOSTING?

CHOOSING THE APPROPRIATE COMPOSTERS

To help you choose the right composter, here are a few useful questions:

– How much space do I have?

– Is the appearance of the composter important?

– What is my budget?

– Are there any municipal bylaws that govern the use or size of composters?

– Does my city or a local organization subsidize the purchase of composters or provide composting training?

There are many models, some very elegant! Most hardware stores and garden centers carry them. But why not have one made of wood by a social economy enterprise or a local craftsman? It’s also not very complicated to make your composter.

If you have a large plot of land, you can compost “in a pile”: in a remote corner, pile the waste. Make piles and turn them regularly to activate fermentation. The natural watering and the large surface area (oxygenation) will be your advantages.

The essential characteristics of the composter

A cover to protect the compost from rain and snow and control the compost’s moisture content.

– Holes or openings to promote air circulation

– A means of removing the final product, usually a hatch at the bottom of the composter

WHAT TO COMPOST?

Two types of residues to be mixed:

– Wet, rich in nitrogen (also called green matter)

– Dry, carbon-rich (also called brown matter)

To obtain an optimal maturation of the compost, mix about 1/3 wet material for 2/3 dry material.

Wet materials

Wet waste contains water, which is very useful in the process, but on its own, it settles and suffocates, generating juice spills and unpleasant odors.

– Fruit and vegetable peelings and leftovers

– Green garden waste: wilted flowers, pruning residues, mowing residues, weeds (without ripe seeds), etc.

Dry matter

Rather carbonaceous waste composts very slowly if left alone.

– Tea, herbal tea, and coffee grounds bags (with filter)

– Leftover bread, rice, pasta, legumes

– Nutshells

– Crushed eggshells (contain mineral elements and facilitate aeration)

– Dried tree leaves (they decompose faster if they are shredded)

– Dry grass

– Old potting soil

– Straw, hay, sawdust, twigs,

– Newsprint paper

– Animal hair and hair

Materials to avoid

– Meat, fish, shellfish, and bones

– Dairy products

– Fats and oils

– Plastic

– Metals

– Animal excrement and litter

– Rhubarb leaves

– Seeded or crawling weeds

– Diseased plants or foliage

– Wood ash

– Lime (lime)

– Barbecue briquettes

– Contents of the vacuum bag

– Dryer Lint

– Materials contaminated with pesticides or hazardous materials (e.g., treated wood)

WHAT IS VERMICOMPOSTING?

Vermicomposting is the solution for people who don’t own land to set up a composter or don’t want to use their composters during the winter. This type of composting is also very popular with children!

This method involves making compost using red worms – a different kind of earthworm from the worms found in the garden – available at various locations. These worms consume and digest a phenomenal amount of waste, quickly producing rich compost.

It’s easy to make a vermicomposter. You can set it up outdoors, but you must provide an indoor space for the cold season as the worms would not survive.

The rest of the topic (below) will continue in part 3:

WHAT IS HERBICYCLING?

THE COMPOST IS READY!

And the final point will cover TIPS FOR COMPOSTING

Stay posted, and don’t forget to comment and share!

COMPOSTING: SIMPLE AND NATURAL WAY TO SAVE OUR PLANET (Part 1)

 Summary

COMPOSTING IN PRACTICE

HOW TO COMPOST?

CHOOSING THE APPROPRIATE COMPOSTERS

WHAT TO COMPOST?

WHAT IS VERMICOMPOSTING?

WHAT IS HERBICYCLING?

THE COMPOST IS READY!

TIPS FOR COMPOSTING


The USA alone produced 292.4 million tons of municipal solid waste (MSW) in 2018. This means 4.9 pounds per inhabitant per day. Of the MSW generated, 69 million tons were recycled and 25 million tons composted. (the United States Environmental Protection Agency, National Overview: Facts and Figures on Materials, Wastes, and Recycling).

According to The Guardian (July 2019), the US produces far more waste and recycles far less of it than other developed countries

These figures come when the world faces a growing waste crisis in developing countries and oceans. The United States is at a crossroads, with China and other developing countries refusing to continue accepting their waste, the report’s authors say.

 The US has only 4 percent of the world’s population but produces 12 percent of the world’s municipal solid waste. By comparison, China and India account for more than 36% of the world’s population and produce 27% of the world’s municipal solid waste.

 While Americans recycle only 35% of their municipal waste, Germany, the most efficient country, recycles 68%.

Composting is an easy, environmentally friendly way to reduce these materials destined for landfill or incineration.

This practice reduces the many negative impacts of the transportation and disposal of waste: air, soil, and water pollution, not to mention the effects on human health, fauna, and flora.

The return to the earth of waste that is not waste.

Naturally, organic matter decomposes when exposed to air. Over time, it forms a soil that allows nutrients to return to the ground. Composting speeds up this decomposition.

Many organic materials, representing up to 30% of our household waste contents, can be composted: fruit and vegetable peels, coffee grounds, dead leaves, etc. With minimal maintenance, the compost is ripe within a few months and then becomes a high-quality amendment for flower beds, vegetable gardens, flower boxes, lawns, etc.

Don’t forget: many municipalities have waste management programs and offer information and sometimes even composters. Contact your local government to find out about these programs or to suggest their implementation.

COMPOSTING IN PRACTICE

Composting is a process of biological transformation of organic matter in the presence of water and oxygen. Fermentation occurs, and micro-organisms transform the waste into compost after maturation: a stabilized, hygienic and humus-rich product, very useful in the garden.

HOW TO COMPOST?

Composting is not complicated. By respecting a few basic rules and by organizing yourself well, this gesture quickly becomes quite natural.

First of all, organic matter requires adequate humidity, oxygen, and various residues to decompose. It is therefore essential to:

– Mix the different organic wastes

– Aerate and stir the mixture – to promote the micro-organisms’ action and homogenize the resulting mix.

– Ensure that the compost is not soaking wet but moist.

In practice, here are the steps to follow after choosing your composter:

1. Place the bin on a flat, well-drained surface that is easily accessible year-round and preferably in an area that is neither too sunny nor too shady.

2. Turn the soil in the area where you will install the compost bin.

3. After placing the compost bin, cover the bottom with a row of small branches to allow air to circulate and improve drainage.

4. Alternate between wet (kitchen scraps) and dry (dead leaves) waste. It is best to always finish with a layer of dry residue or potting soil to avoid odors.

5. Initially, add mature compost, garden soil, or a starter (available at garden centers) to your waste. This speeds up the composting process. You can repeat this process as needed.

6. At least twice a month, turn the fermenting compost pile over with a fork or shovel to aerate it, speed up decomposition and avoid odors.

7. Your compost bin should allow you to collect mature compost through a door at the bottom of the pile: as the residues are piled up, they decompose at the base and become compost.

This post will now continue in part 2. Stay posted, and remember to leave your comments below.