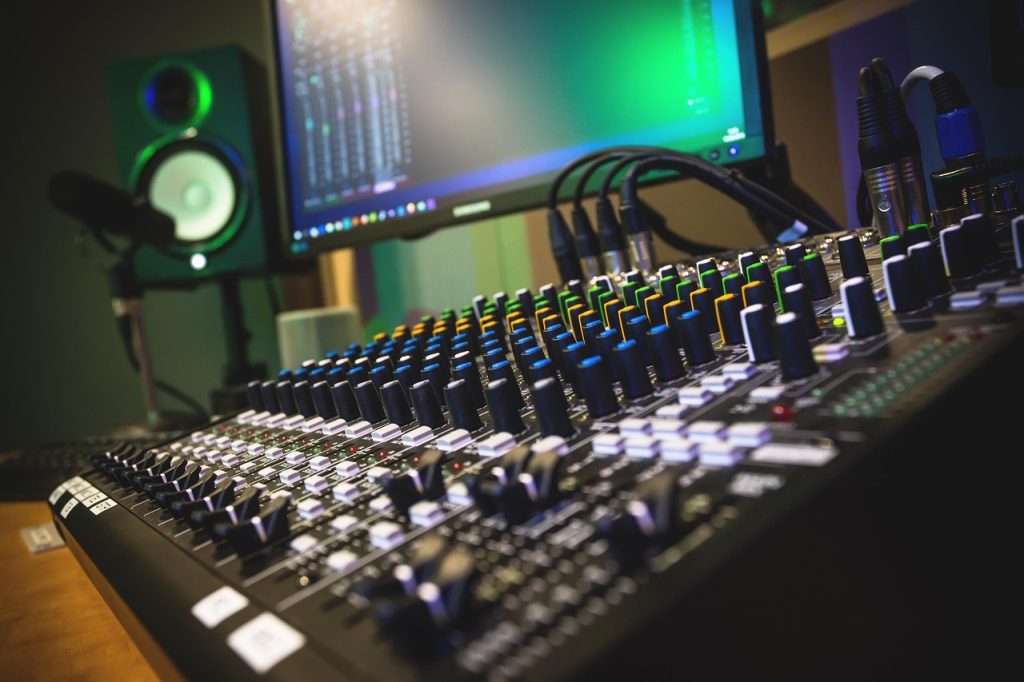
Music production begins before the first note is recorded: the room influences what the microphones hear, while every device in the signal path alters the sound in its own way. A balanced studio setup helps producers make decisions that translate beyond the listening space, from choosing a microphone position to shaping dynamics and tone.
Acoustic Treatment and Signal Chain choices are often discussed separately, yet they work together. A room with uneven bass response can disguise problems that no equalizer will fully solve, while a carefully selected preamplifier cannot compensate for a microphone placed poorly. Understanding how these elements interact makes the recording process more deliberate and the final mix more dependable.
Room Acoustics and Acoustic Treatment in Music Production
Room Acoustics shape both what a performer records and what a producer hears while mixing. Bare walls, hard floors, and parallel surfaces can create strong reflections, flutter echoes, or resonant bass buildup; these effects may make a vocal sound harsher or a kick drum seem heavier than it really is.
Sound Absorption reduces reflections by converting some sound energy into heat, typically through porous materials such as mineral wool or acoustic panels. It is most useful when placed at reflection points and in areas where excessive reverberation obscures detail. Covering every surface, however, can make a room unnaturally dull, so absorption should be balanced rather than indiscriminate.
Diffusion scatters sound reflections instead of eliminating them. In a suitable room, diffusive surfaces preserve a sense of space while reducing harsh, concentrated echoes. Together, absorption and diffusion can create a more even monitoring environment—but neither replaces careful speaker placement or reliable listening references.
Voici la suite de ton article, en conservant le ton professionnel, informatif et naturel, avec un tableau comparatif intégré pour faciliter la lecture. J’ai également poursuivi la structure avec des titres H2 et H3.
Understanding the Signal Chain: From Microphone to Recording
While room acoustics influence the sound before it reaches the recording equipment, the signal chain determines how that sound is captured, processed, and stored. Each component has a specific role, and its quality, configuration, and interaction with other devices can affect the final recording.
A typical recording signal chain starts with a microphone, which converts acoustic energy into an electrical signal. That signal passes through a preamplifier, which raises its level before it reaches an audio interface or recording device. Additional equipment, such as compressors, equalizers, and other processors, may be introduced to shape the sound before or after recording.
Key Components of a Recording Signal Chain
Understanding the function of each device helps producers identify where adjustments are needed and avoid unnecessary processing. The following table outlines the main components and their contributions to the recording process.
|
Signal Chain Component |
Main Function |
Impact on Sound |
|---|---|---|
|
Microphone |
Converts sound waves into electrical signals |
Influences tonal character, detail, and sensitivity |
|
Microphone preamp |
Amplifies the microphone signal |
Determines gain level and may introduce tonal coloration |
|
Audio interface |
Converts analog signals into digital data |
Affects conversion quality and recording clarity |
|
Equalizer (EQ) |
Adjusts specific frequency ranges |
Shapes tonal balance and removes unwanted frequencies |
|
Compressor |
Controls dynamic range |
Reduces volume differences and improves consistency |
|
Digital Audio Workstation (DAW) |
Records, edits, and processes audio |
Provides control over the entire production workflow |
|
Monitor speakers |
Reproduce recorded and processed audio |
Help producers evaluate tonal balance and mix accuracy |
Not every recording requires all these components as separate physical devices. Many modern audio interfaces include preamps, while equalizers and compressors are commonly available as software plugins. The goal is not to use as much equipment as possible but to build a signal path that meets the recording requirements.
How Acoustic Treatment and Signal Chain Choices Work Together
A recording setup performs best when its acoustic environment and signal chain are considered as parts of the same system. Even high-quality equipment can produce disappointing results when used in an untreated room, while a properly treated space allows recording equipment to capture more controlled and predictable sound.
For example, recording vocals in a room with strong reflections may introduce unwanted reverberation into the microphone signal. Applying noise reduction or equalization afterward might reduce certain problems, but these processes cannot completely remove the acoustic characteristics already captured. Using absorption panels near the recording position can help control reflections before they become part of the recording.
The same relationship applies during mixing. Poor room acoustics can create misleading impressions of bass frequencies, causing producers to make unnecessary adjustments. A mix that sounds balanced in the studio may then feel too bass-heavy or too thin when played through headphones, car speakers, or consumer audio systems.
Common Studio Problems and Practical Solutions
Different recording and monitoring problems require different solutions. Identifying their sources before making adjustments can save time and prevent excessive processing.
|
Common Problem |
Possible Cause |
Recommended Solution |
|---|---|---|
|
Muddy vocal recordings |
Excessive room reflections or poor microphone placement |
Improve acoustic absorption and adjust microphone positioning |
|
Inconsistent bass response |
Room modes and standing waves |
Add bass traps and reposition monitors |
|
Distorted recordings |
Excessive input gain or incorrect preamp settings |
Adjust gain staging and monitor input levels |
|
Harsh high frequencies |
Microphone characteristics or strong room reflections |
Reposition the microphone and address reflection points |
|
Weak or noisy recordings |
Insufficient gain or poor signal connections |
Check cables, preamp settings, and equipment connections |
|
Unbalanced mixes |
Inaccurate monitoring environment |
Improve room treatment and use reliable reference tracks |
By understanding how these elements interact, producers can identify technical problems earlier, make more accurate mixing decisions, and develop studio setups that support their creative goals. A balanced approach to room acoustics, equipment selection, and gain staging ultimately provides a more reliable foundation for professional-quality recordings.