At present, it is important to have a rainwater harvesting system. On the one hand, it is a major advantage for preserving the ecology because it reduces the risks of flooding, erosion, and degradation of the water table. On the other hand, it is a profitable investment, allowing to reduce the consumption of drinking water.
Among the most popular rainwater harvesting systems is the rainwater tank, also called rainwater harvesting. In this article, we’ll take a look at how to install this system. So, without further ado, let’s dive into this blog and learn some of the things you need to know about installing a rainwater tank.
Choose a rainwater cistern model

The choice of a rainwater tank model depends on the quantity of water you wish to collect and its use. There are 2 main models.
1. The aerial model
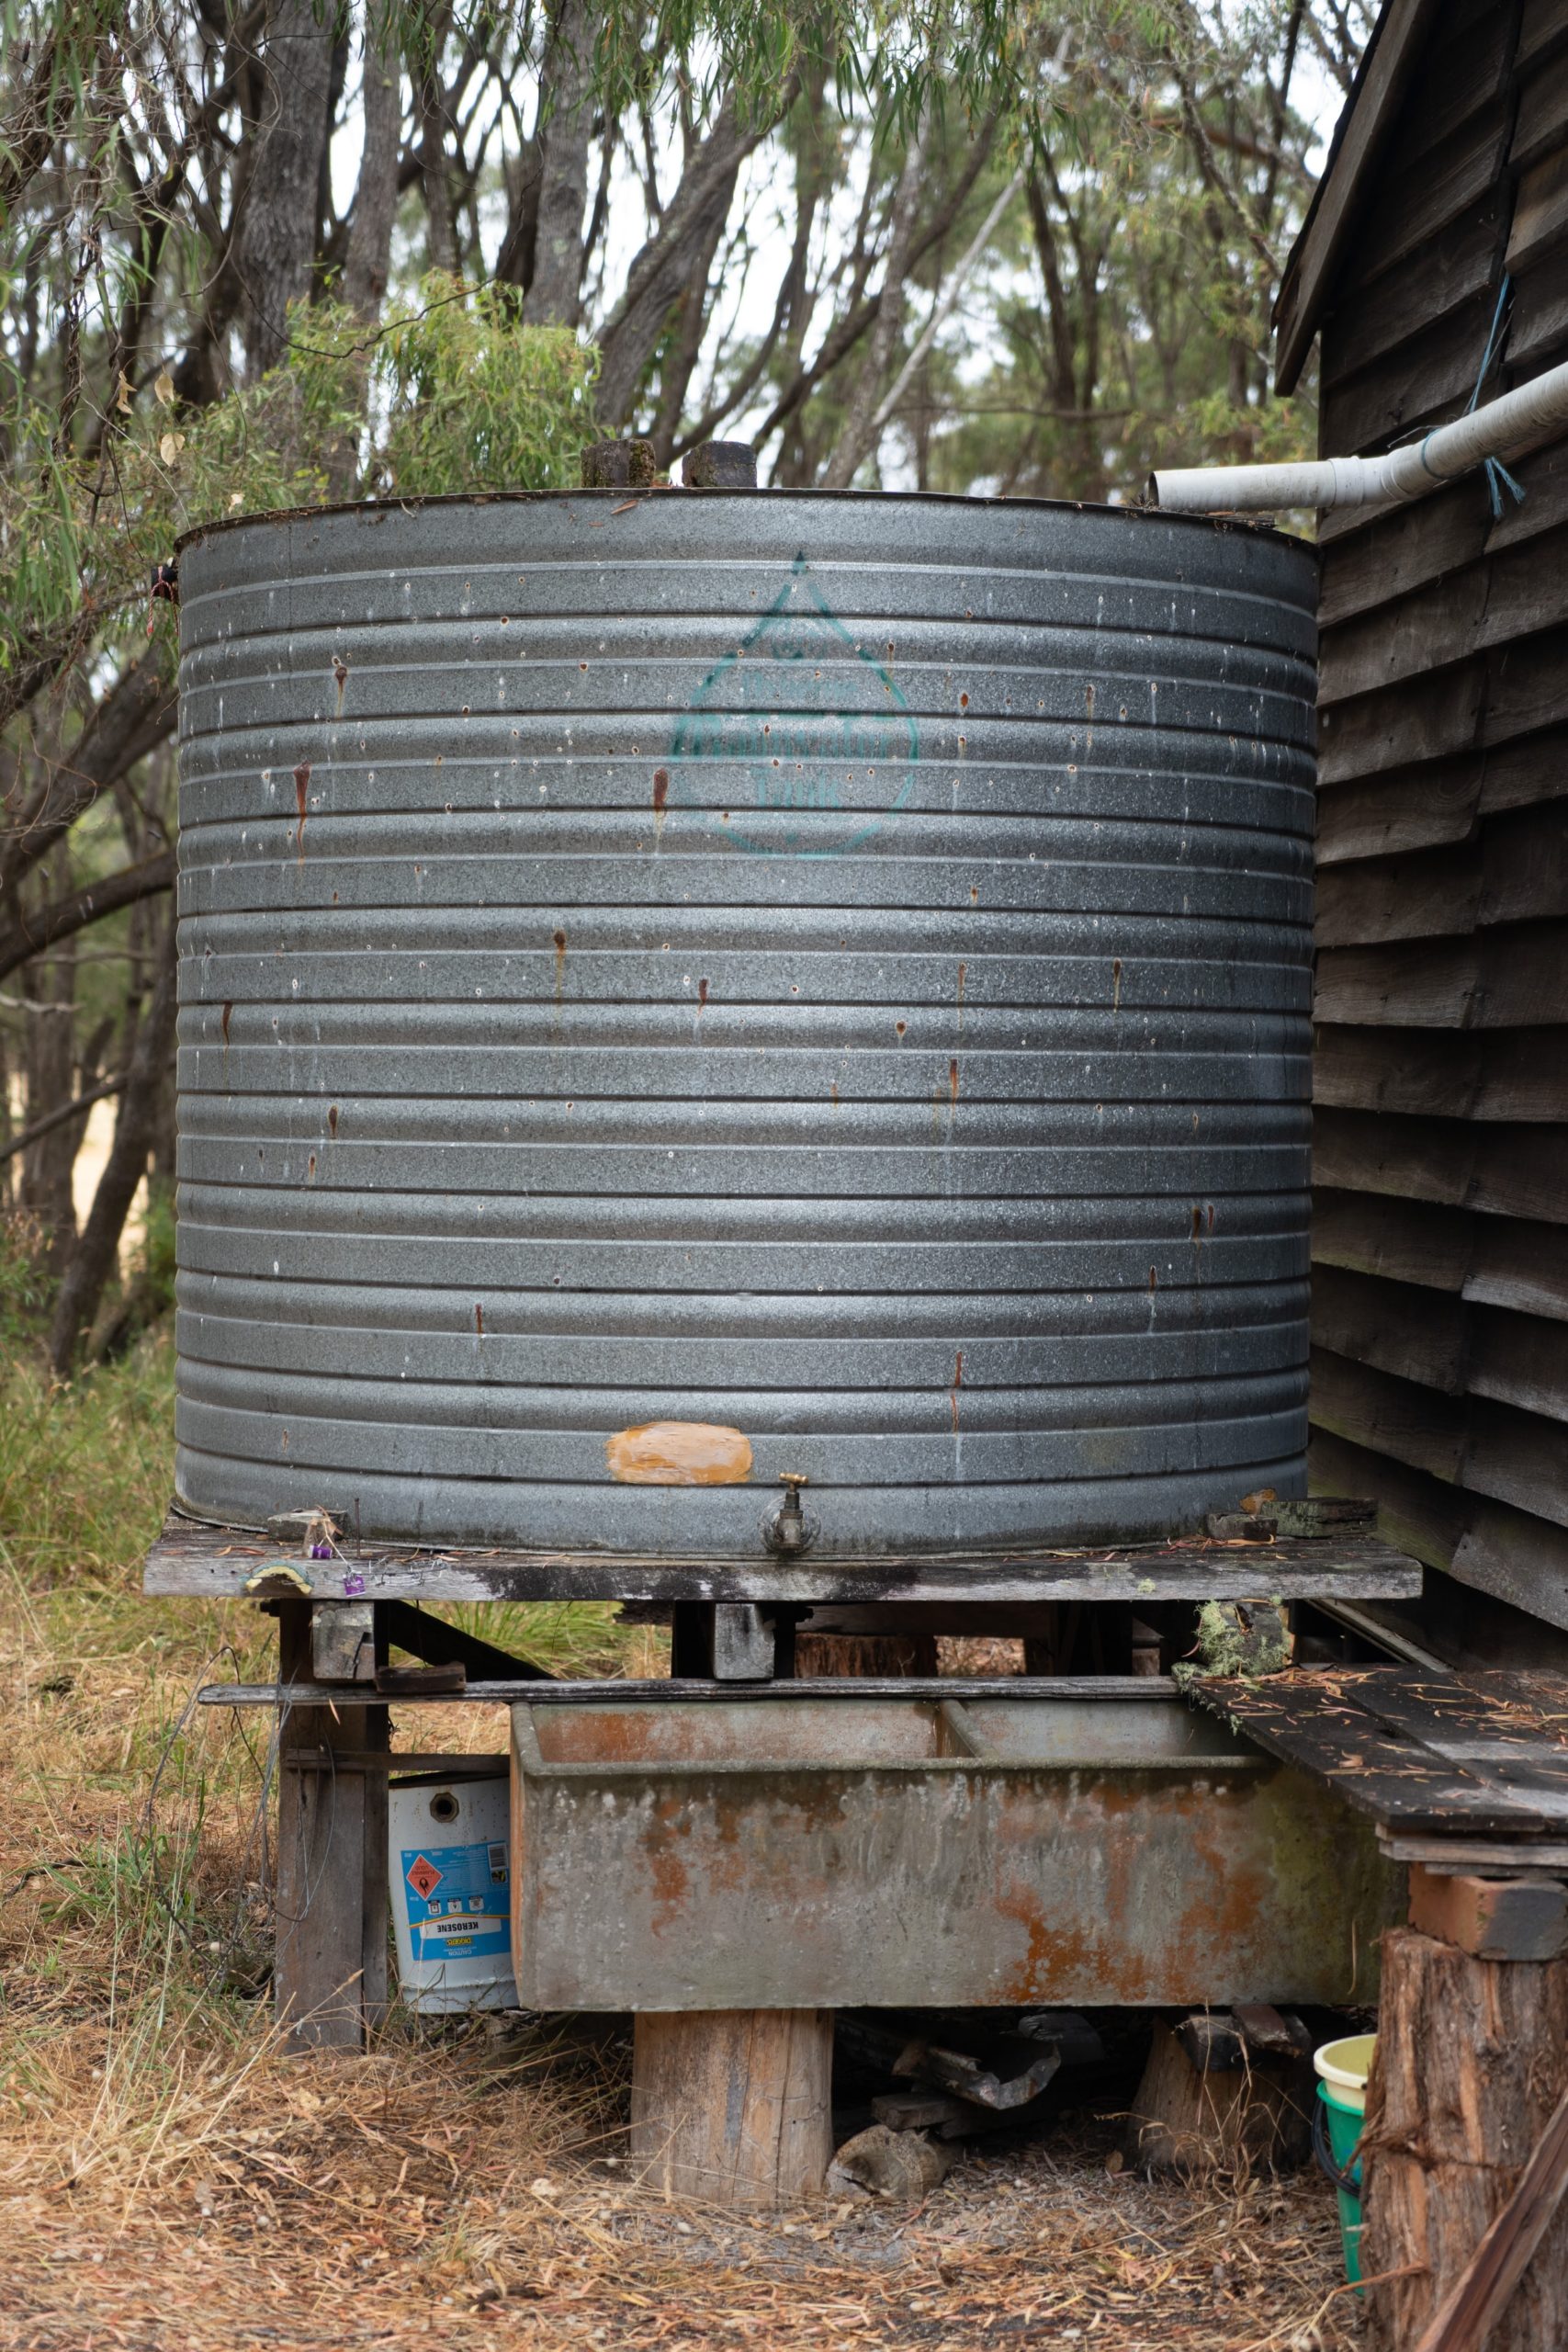
It corresponds to the need for gardening and occasional cleaning. It is installed on stable ground and can be put under cover. It is equipped with anti-UV protection and a tap placed at the bottom to facilitate the drawing. Its connection is provided by a collector, which is equipped with a filtering system to block leaves, insects, etc. Currently, their manufacturers offer more aesthetic models with a wide variety of colors.
2. The buried model
It allows for the storage of a large amount of rainwater, but this depends on the volumes (water storage up to 25,000 L) and ranges available in the market. It is very discreet, as only its cover remains visible, and it is easy to maintain and does not require emptying in winter. It can also keep an invariable water temperature.
Its other major advantage is that it can be connected to the sanitary system of your home to facilitate your household chores such as laundry and cleaning the floor. However, the cost of its installation is more expensive than that of an overhead model. Moreover, its installation is more complex because if it is installed on wet soil, a concrete invert is required, and if it is installed on clay soil, drainage is necessary to evacuate the water around the cistern.
Choose the material for your rainwater tank.
Rainwater tanks can be made from polyethylene, PVC coating, or concrete. The polyethylene tank is effective for all seasons. It is durable (at least 20 years), recyclable and translucent (which avoids the presence of particles in the water). It is also treated with high-definition anti-UV.
The tank with PVC or polyester coating is robust against water pressure, despite its fragile appearance. It is completely closed, which prevents water evaporation and guarantees its purity. Its shape can be customized according to the shape of your land.
The concrete cistern has the power to soften and neutralize the water that is stored for a certain period of time. It requires to be completely closed to prevent the penetration of external debris and the development of pathogenic micro-organisms. It is also durable and unbreakable.
Determine the right location for the tank

The cistern should be placed close to your house, near the downspout, and in a clear area. The surface of this area should be horizontal, flat, and level.
Prepare your land
Mark off the general area of your property where you will place your tank. Remove all loose items that can puncture the liner, such as rocks. Lay down a bed of sand about 10 cm thick and spread it with a rake.
Set up the tank
Unroll your tank liner after delivery. For good ventilation under the liner, shake out each corner and lift it up at once (at least 4 people). Then, install your water tank in its final location.
Connect the tank to your sanitary system

Locate the connection points by first attaching the collector on the tank side to the top of the rainwater pipe, to stop the water collection when the tank is full automatically. Then, drill the gutter, install it and connect it to the tank. Then connect it to the pump at the other end. Finally, attach the safety overflow.
Sound off in the comments section below and tell us what you want to read next and if you want to read more about rainwater tanks.
